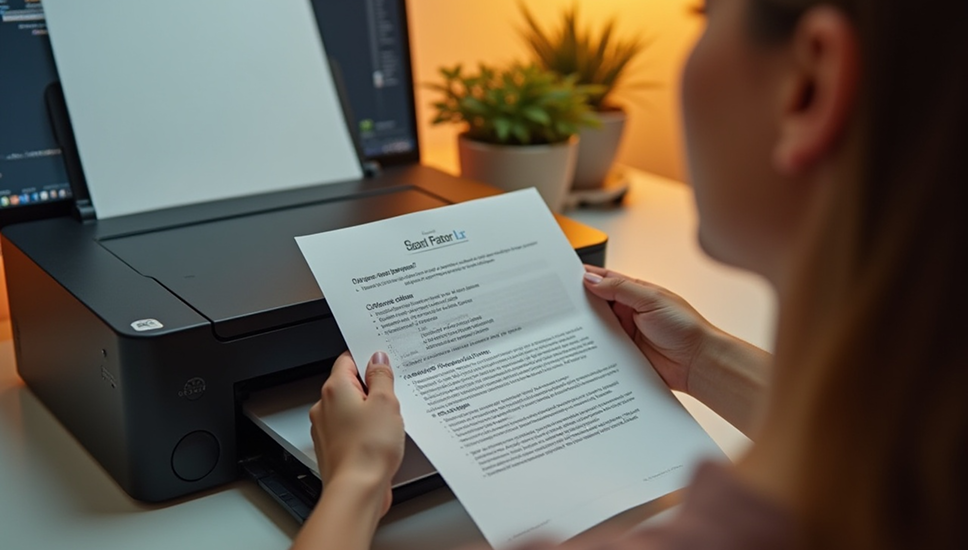
Why Are My Prints So Light or Blurry?
You've loaded your document, hit "print," and expected crisp, clear pages—but instead, what comes out looks faded, streaky, or worse, completely blank. Don’t worry. You’re not the only one dealing with this.
Whether your printer is showing signs of weak ink or skipping sections entirely, these issues usually point to something minor and fixable. Let’s break it down and help you get back to clean, sharp printing.
What’s Likely Causing the Problem?
Several factors can affect print quality, especially when prints appear too light or unclear. Here are some common reasons:
- Low or dried-out ink or toner
- Clogged nozzles or dirty printheads
- Misaligned cartridges
- Incorrect paper type or settings
- Outdated or incorrect printer settings
- Driver conflicts or printing from a low-resolution file
- Infrequent printer use (leading to dry ink)
Each of these issues can lead to fading, smudging, blurred text, or even pages with missing sections.
Simple Checks You Can Do Yourself
Before assuming anything serious, follow these steps to check and improve your print quality:
- Check Ink or Toner Levels
Even if your printer hasn’t alerted you about low ink, light prints are often the first sign. Access your printer settings or control panel to view current ink or toner levels. If anything is running low, replace or refill as needed. - Clean the Printhead or Nozzles
Over time, ink can dry up and clog the tiny nozzles that deliver it to the page. Most printers include a built-in utility to clean the printhead. Go to your printer’s settings and look for an option like “Maintenance,” “Tools,” or “Printhead Cleaning.” Run this once or twice and print a test page to see if quality improves. - Align the Print Cartridges
Misaligned cartridges can cause fuzzy or streaked text. Use your printer’s alignment tool, usually found under settings, to realign everything properly. - Use the Right Paper Type
If the paper doesn’t match the settings or the print job, you might see smudging or fading. Always use clean, flat paper and select the correct paper type (plain, photo, glossy, etc.) from the print dialog box before starting the job. - Double-Check Print Settings
Sometimes, prints come out faded simply because of the chosen print mode. Draft or Eco modes save ink by printing lightly. If you're seeing light prints, try switching to “Best” or “High Quality” in your print settings. - Print a Test Page
A test page helps you spot whether the problem is with just one color or if it’s affecting all of them. This gives clues about whether it’s a clogged nozzle, alignment issue, or ink shortage. - Let the Printer Warm Up
If you’ve just turned it on after a long break, give your printer a moment. Inkjet models in particular take a few seconds to run checks and get ready. Jumping in too quickly can lead to a low-quality first page. - Use the Printer Regularly
Infrequent use leads to dry ink and blocked nozzles. Even printing a test page once a week can help keep things running smoothly and avoid light or blank printouts.
Final Words
Light, blurry, or missing prints don’t always mean there’s a big problem. Most of the time, it’s something small—like a setting that needs adjustment, a printhead that needs cleaning, or simply low ink.
If you've gone through the above checks and things still don’t look right, feel free to contact us. We're happy to guide you through the next steps and help you get things printing clearly again.


